PRINTMAKING TECHNIQUES I.

Printmaking is a very versatile and interesting process, which allows you to create lots of prints of the same image. Different printmaking methods achieve completely different results – therefore, this series, introducing the most common techniques, will hopefully be a helpful guide to find the most suitable for your art.
Etching
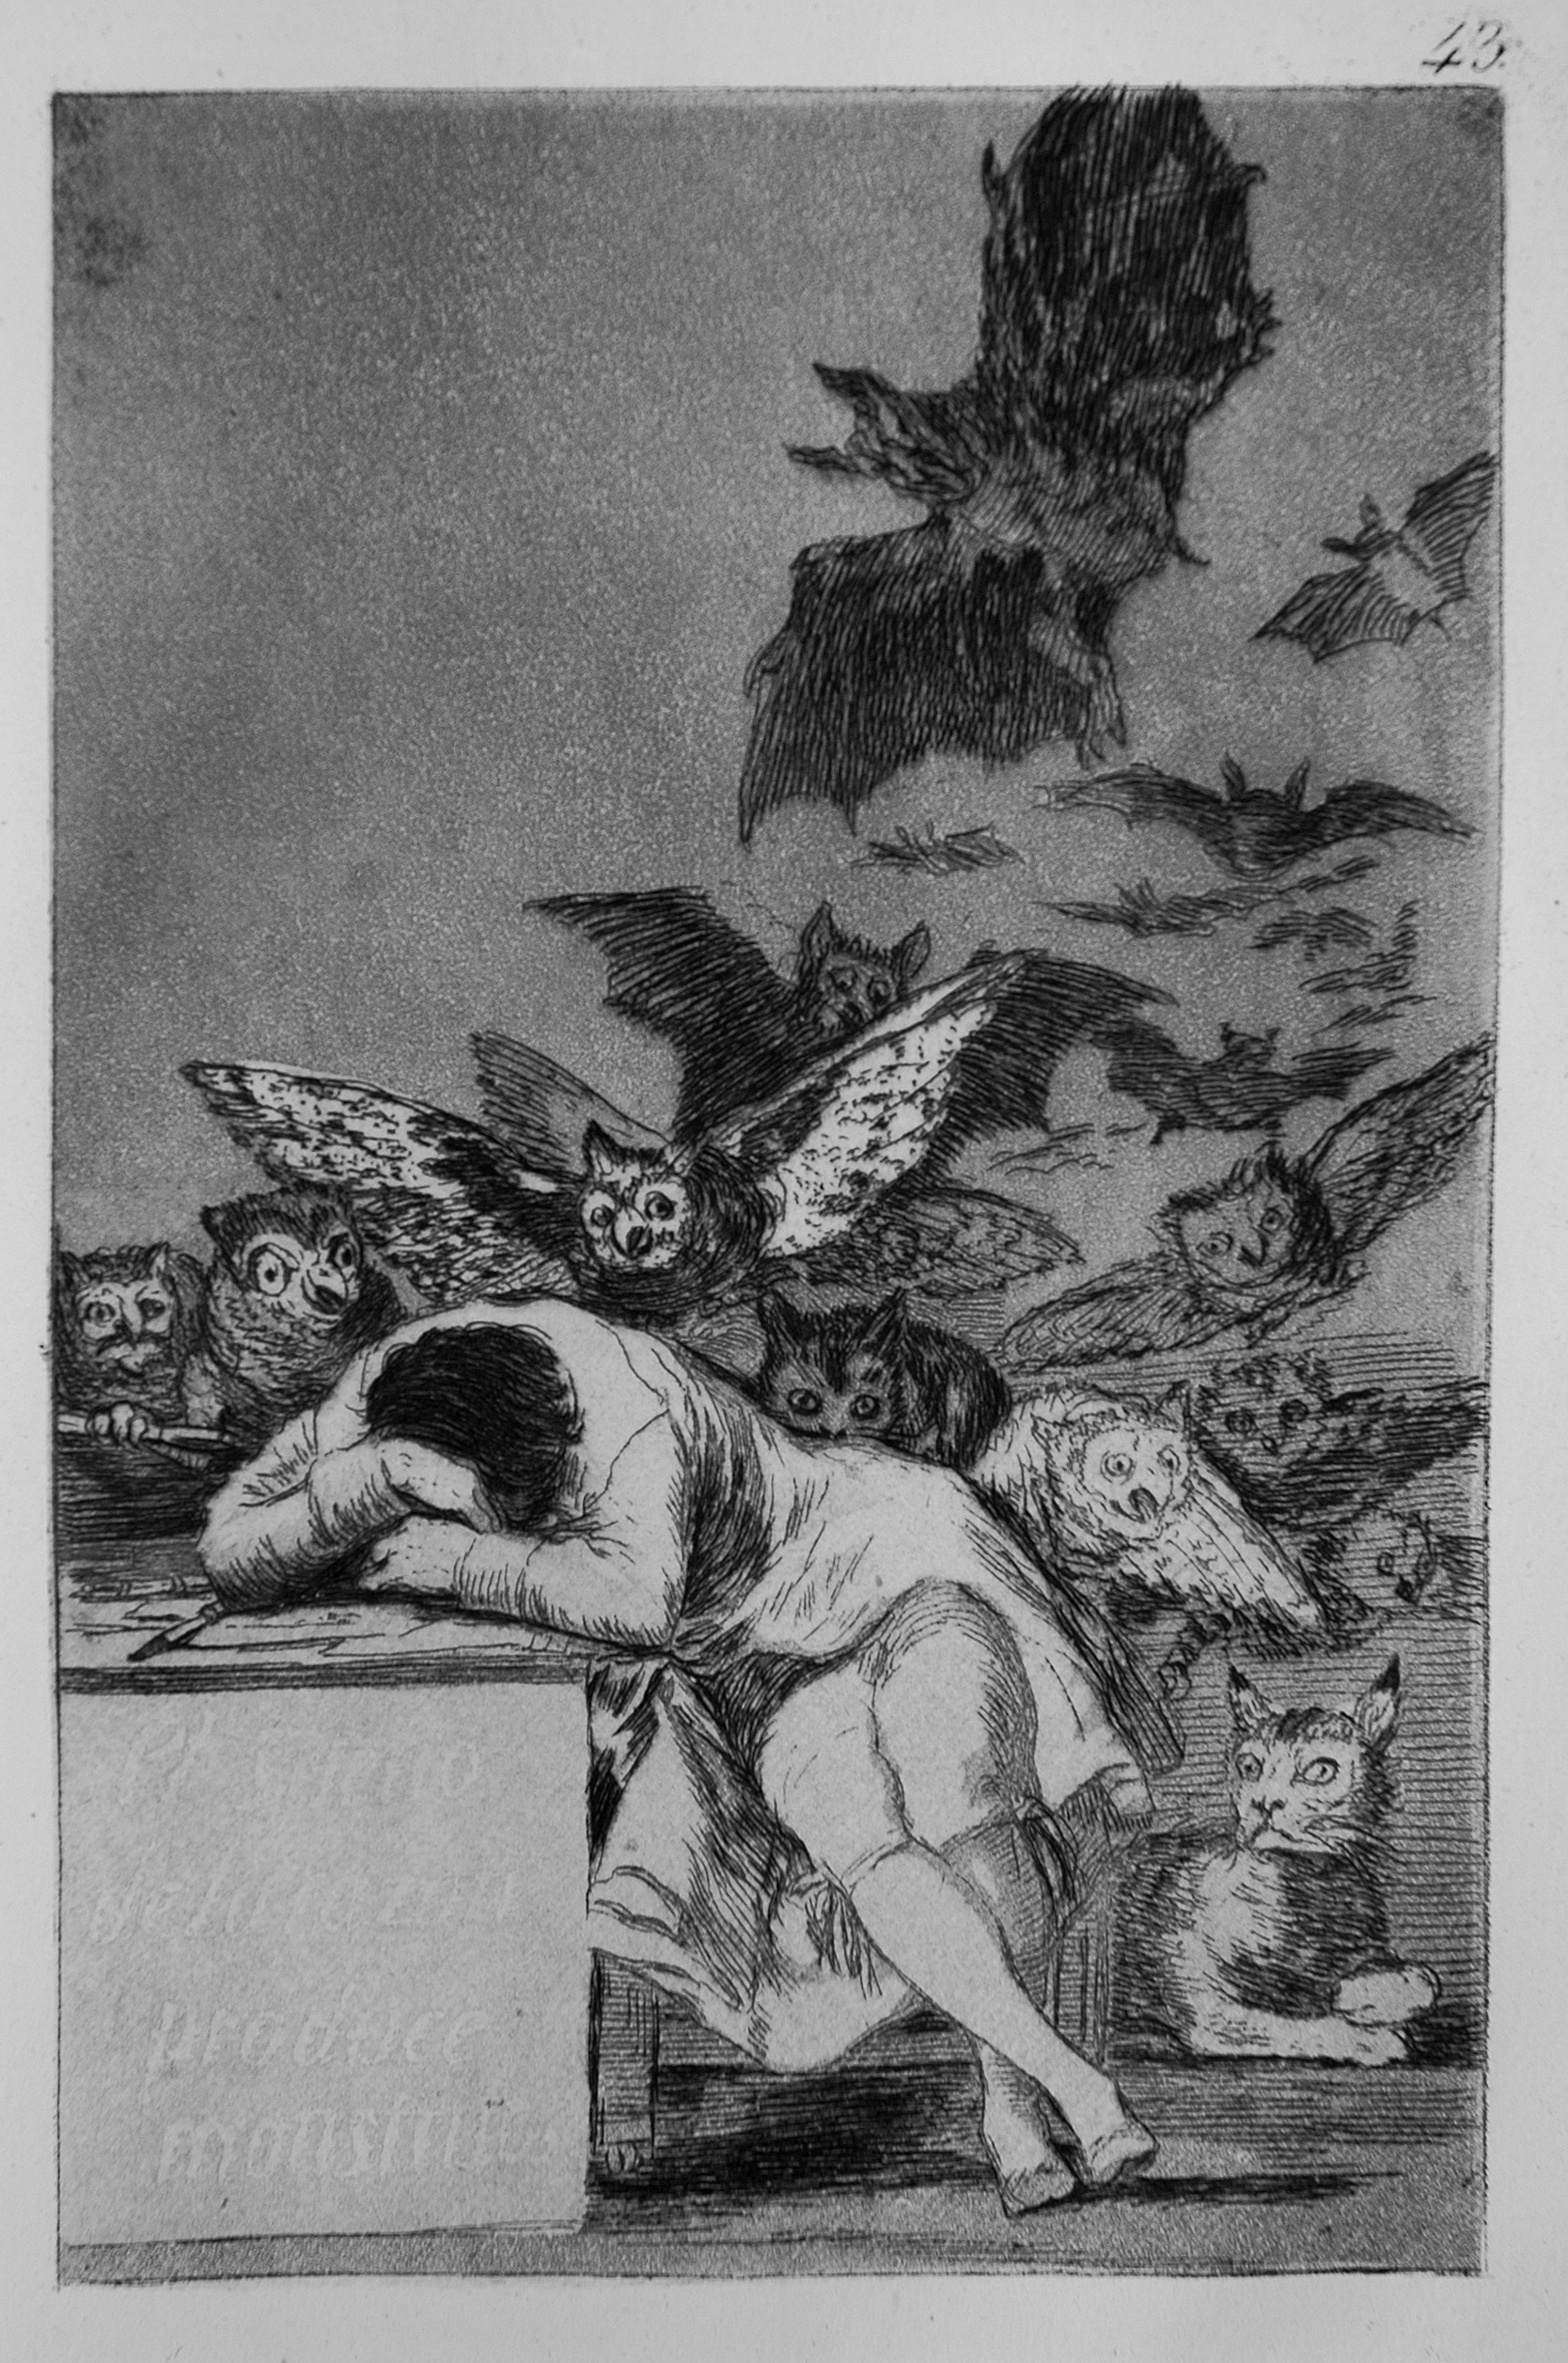
According to the Tate’s glossary, etching is a printmaking technique that creates images by lines that stay in the metal printing plate with the use of chemicals.
Etching gained popularity in the beginning of the 17th century, even Rembrandt was a dedicated practitioner of the technique. Despite how long etching has been used, it still is not an outdated technique – both drawing and painting like characteristics can be achieved, and even better, due to the longevity of the metal plate, the same image can be printed over and over again for a very long time.
Etching in History
The printmaking technique of etching originates from goldsmiths, who decorated metal guns, armour and cutlery with ornate designs, the foundations of which had been made in the Middle Ages, or even before.
Etching as we know it today was supposedly invented by Daniel Hopfer around the 15th – 16th century, who decorated armour with the use of iron plates.
The earliest dated etching was made by Urs Graf, the Swiss Renaissance goldsmiths, in 1513.
The Method of Etching
Traditionally, etchings are done on a metal surface (usually copper or zinc) on which the ground is applied – a coat of wax. It should be applied on the heated plated with a roller, evenly. Optionally, in order to make the drawing process easier, it is advised to ‘smoke’ the waxy surface with candles.

When the plate cools down, it’s possible to scratch into the surface – although, it is not necessary to push the needle very hard, as the exposed metal lines will be ‘scratched’ into by the acid. Keep in mind that the actual print will be the reverse of the image on the plate, therefore, in case of words you will need to write them the opposite way.
Once the image is finished, you place the plate in the acid – for the first time, it’s a good idea to do a trial plate and test for how long you need to keep the plate in the acid – the longer it’s in, the darker the lines will be, as the acid can ‘bite’ into the surface more effectively, and it will be able to hold more paint.
It is also possible to cover certain parts with stop-out varnish so you can influence which parts of the drawing will be darker or lighter, depending on how long you allow the acid to bite deeper into the metal. (Make sure to dry the plate and the masking fluid before you put it back in the acid!)
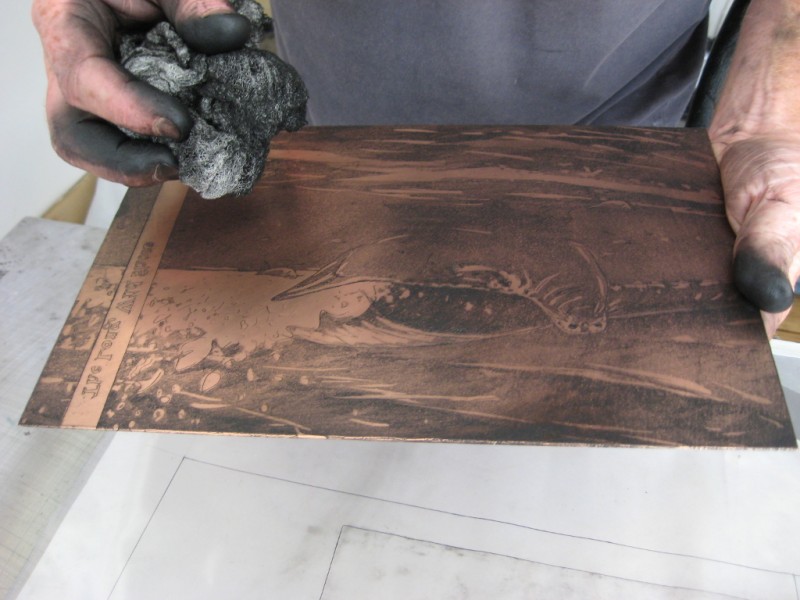
Once you’re done with the plate, you can wash off the wax with white spirit, and then the etching is ready for printing! Apply etching ink to the plate with a squeegee, then press it into the plate with circular motion, removing any excess paint. You need to soak the paper in water before printing, but make sure to lightly squeeze the water out of it by placing it between other sheets of paper, before you put it under the press.
Aquatint
The technique of Aquatint is a good method to produce watercolour / ink effect. It is possible to achieve by dusting the plate with resin powder – then marking the surface of the metal with lots of small lines that will appear to be different tones.
The resin dust should be applied onto the plate, then it has to be heated up so the resin can melt. After the plate has cooled down, you can stop out the areas you wish to remain white, and after it’s dry, the plate can be put into the acid. To create different tones, you will need to experiment with the time you leave the plate in the acid, as well as with stopping out different areas to achieve the desired tone differences.
Soft Ground Etching
Soft ground etching is used in order to create crayon-like drawings. It can be achieved by applying a waxy ground that is made softer by some sort of grease. It is possible to create different textures and patterns by pressing various objects into the waxy surface. Or for creating lines, a sheet of tracing paper should be placed over the plate and then drawn on. When the object / paper is removed, the exposed lines will be bitten into by the acid.
Signature and Editions
Signatures on prints are usually placed on the lower margin, on the right side of the paper. The place for the edition mark is on the left, and the title goes to the centre.
According to the Glasgow Print Studio’s guidebook, these are the edition markings that can be used:
- A/P – Artist’s Proof – (the artist’s personal use.)
- P/P – Printer’s Proof – for the printer
- B.A.T. – (Bon à Tirer – means “Good to Pull”) the standard quality and colour for the rest of the edition.
- H/C – (Hors Commerce – means “Outside of Commerce”) means that the print is not for sale
- S/P – State Proof – a work in progress print to show the development
- V/E – Varied Edition – prints of the same plate with hand, or differently coloured.
- Chop Mark – it’s an embossed sign on the paper to identify the workshop where the printing happened.
If you liked this post, keep your eyes on the blog to learn about more printmaking techniques in the future!
References:
http://www.tate.org.uk/learn/online-resources/glossary/e/etching
http://www.visual-arts-cork.com/printmaking/etching.htm
http://www.limitededitionprints.info/what-is-etching.html
Printmaking, etching and engraving: focus on Aquatint and Soft-ground techniques
http://www.rembrandtpainting.net/rembrandt_etching_technique.htm
http://www.gpsart.co.uk/DownloadDocs/GPS_Etching_Handbook.pdf
how to do an etching, the old way
Etching demonstration by Glynn Thomas — part one


